Wood Home
Latest Content
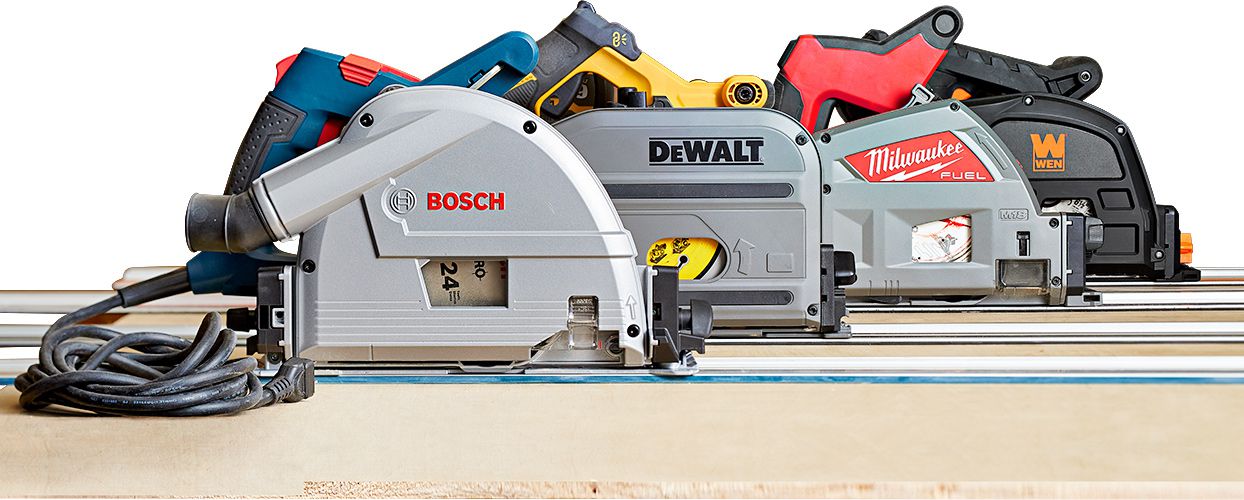
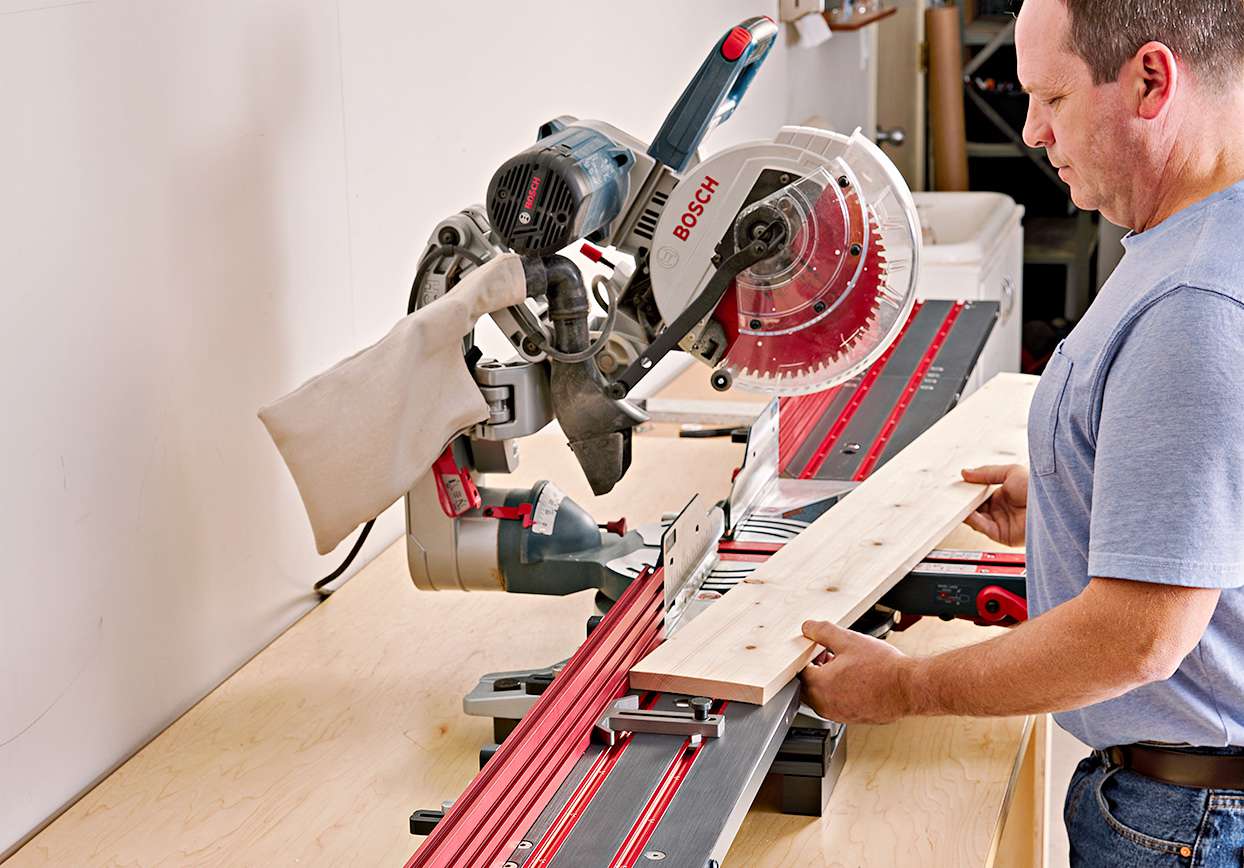
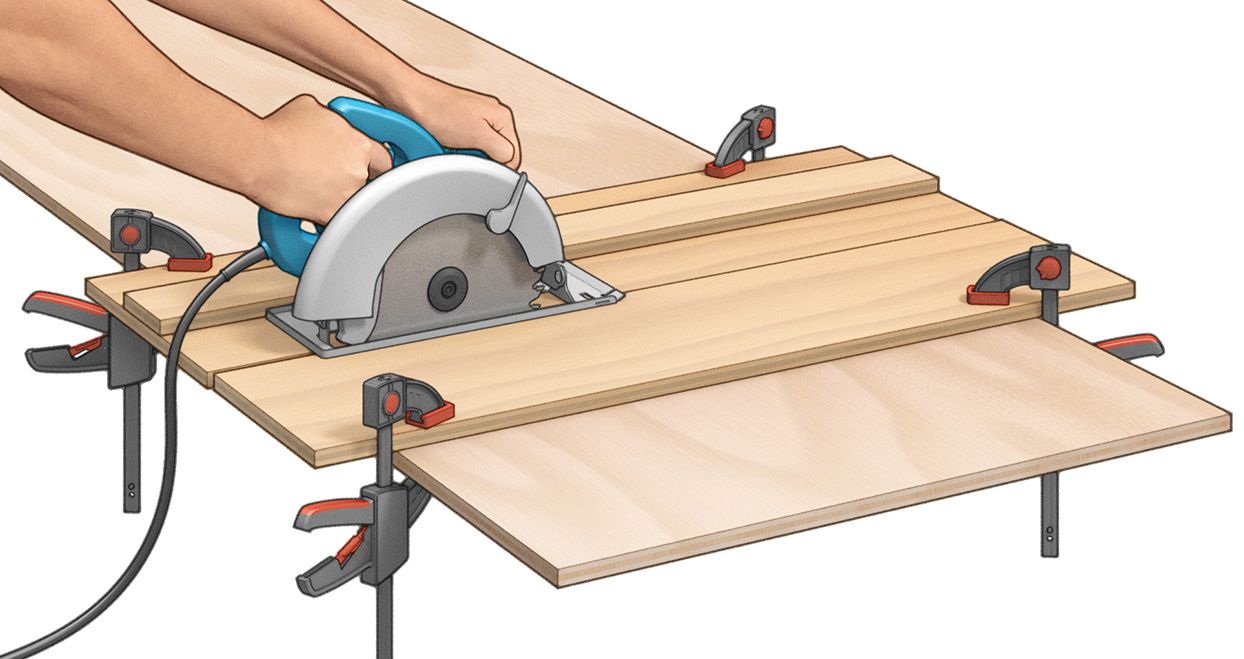
TrackSaws 

Shop Tested TrackSaws
We put 16 tracksaws through their paces to see which contenders lead the field to deliver straight, smooth cuts.

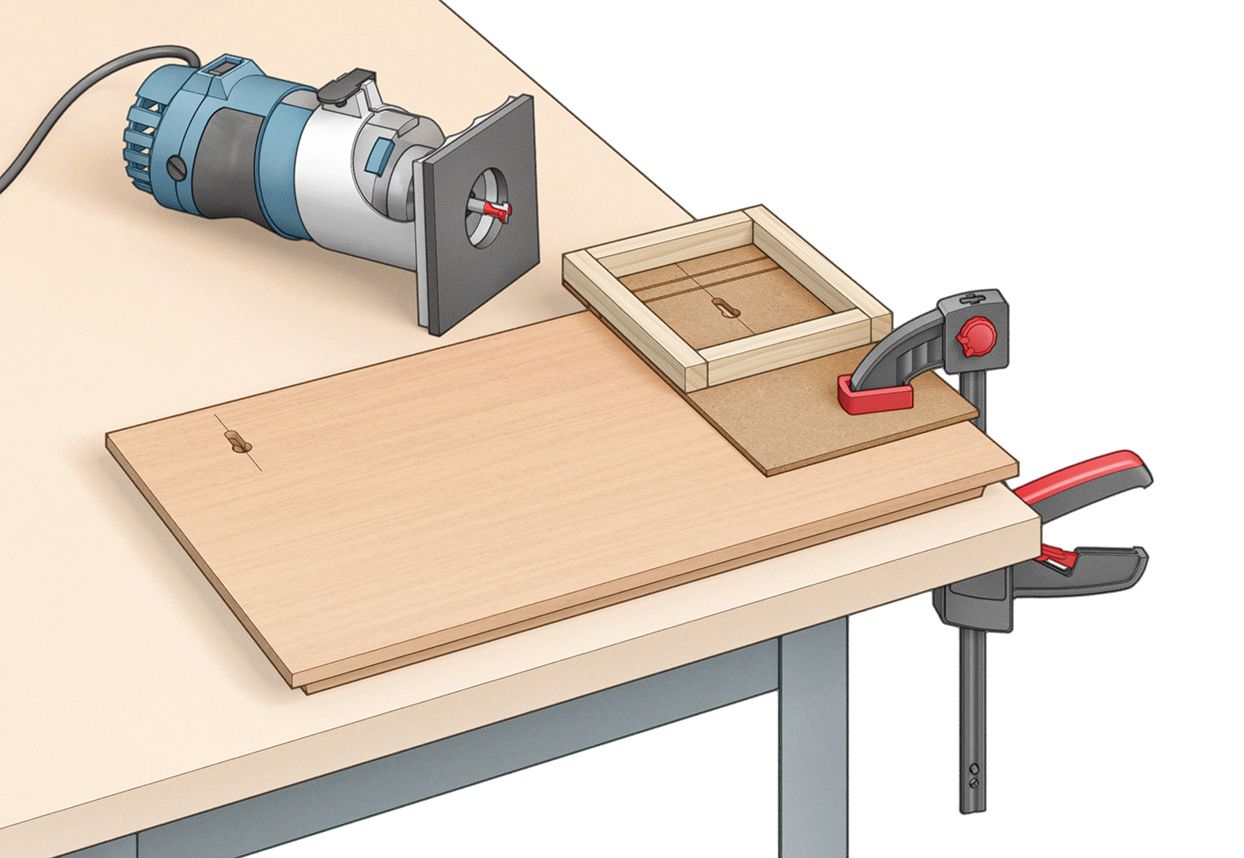
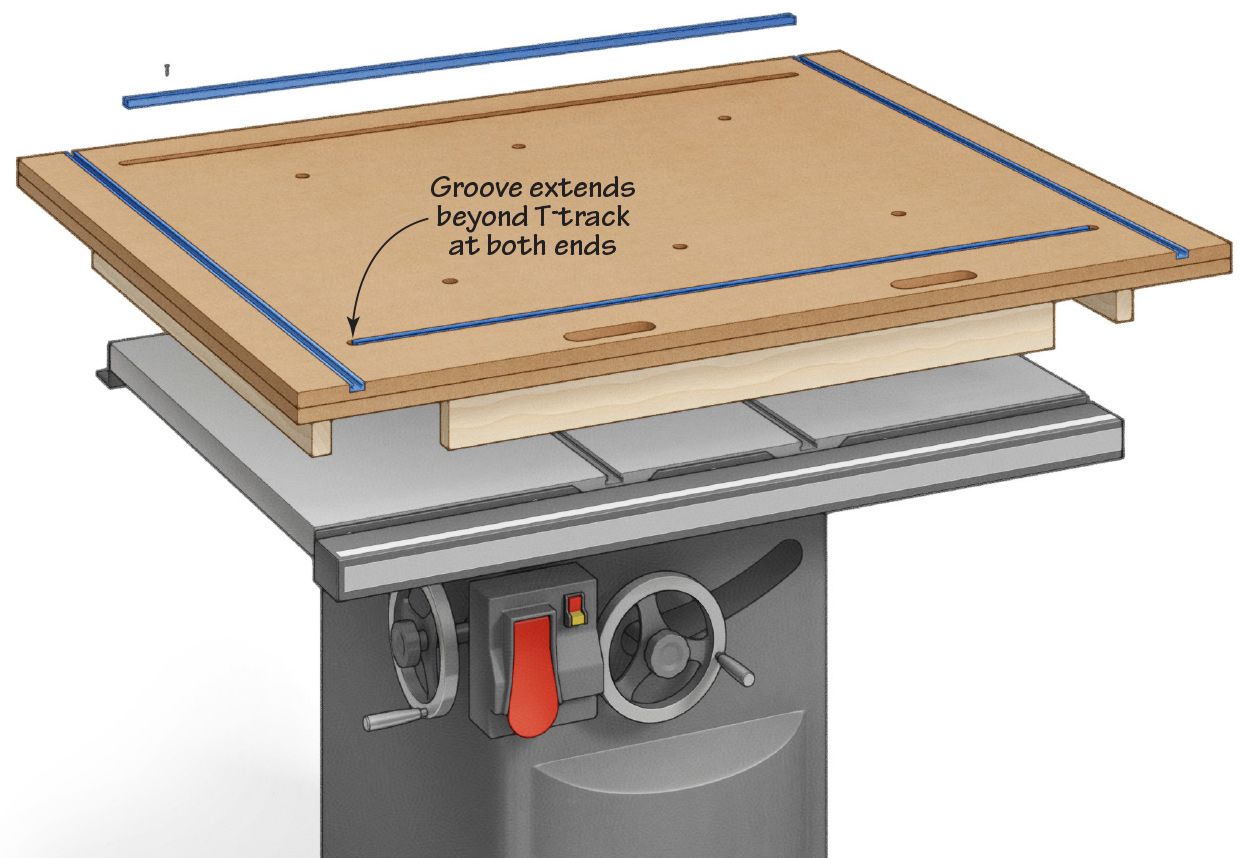
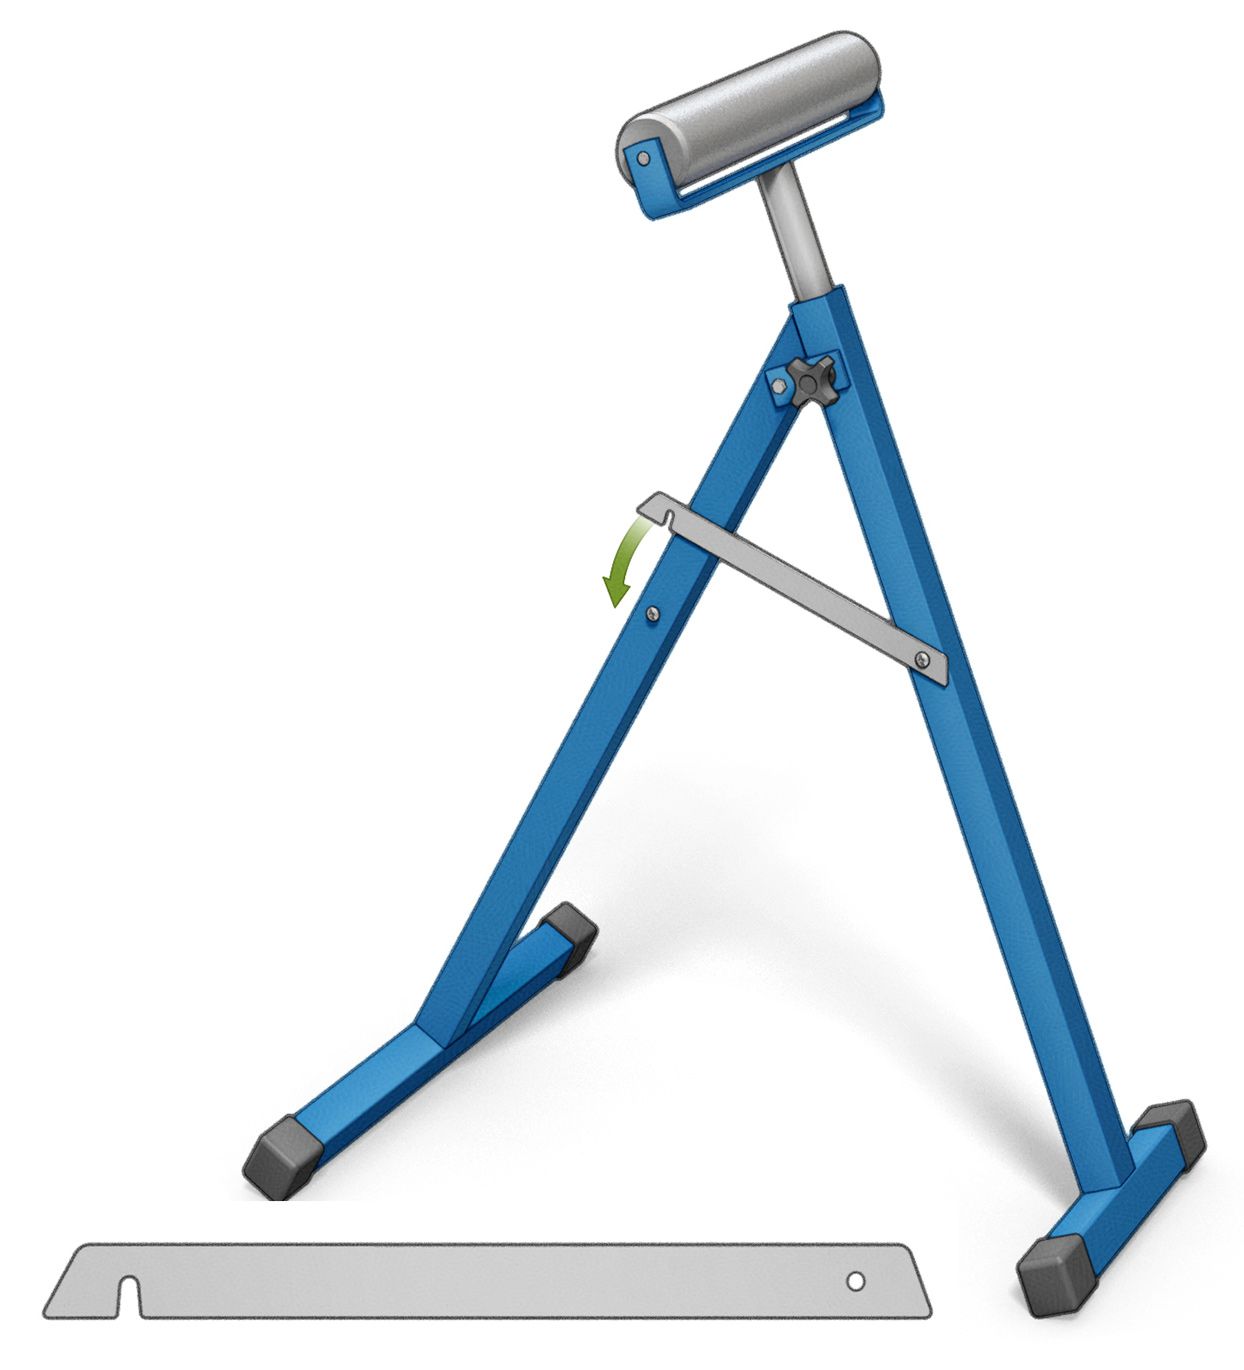
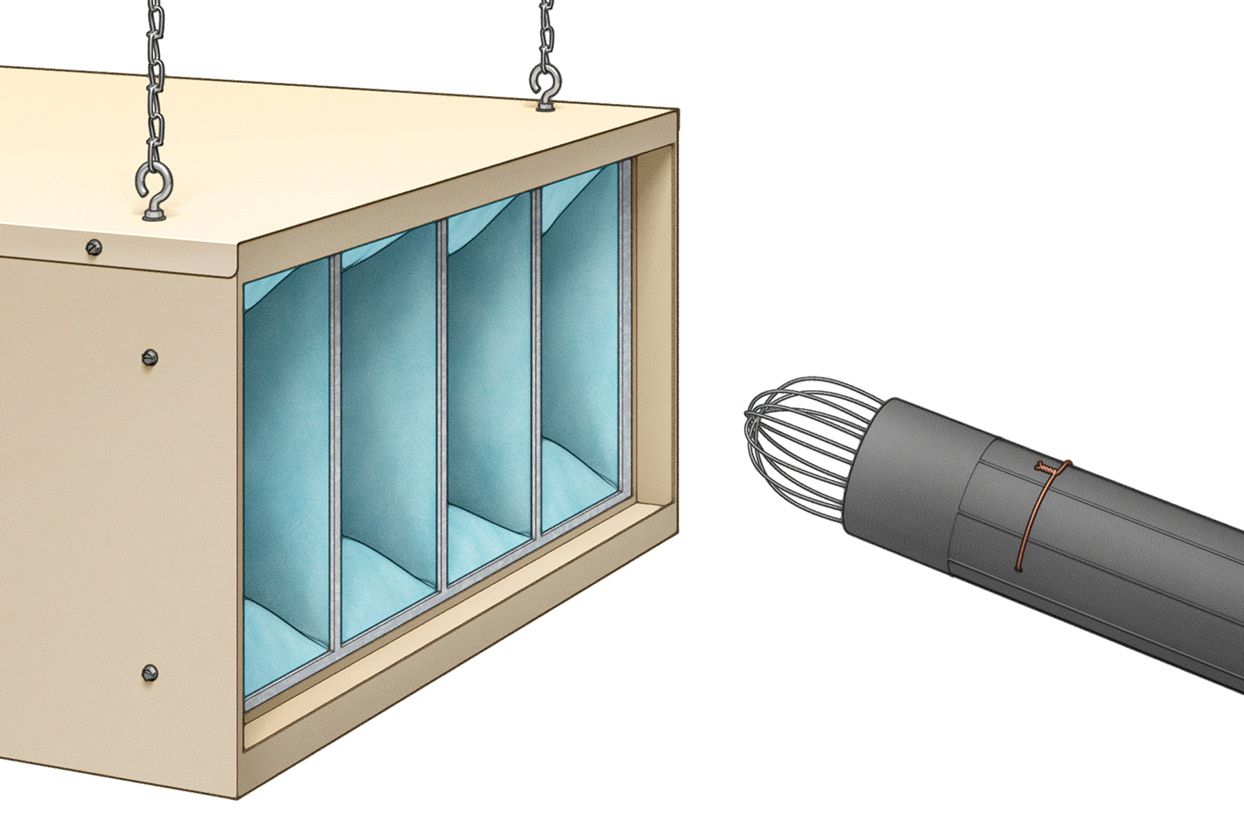
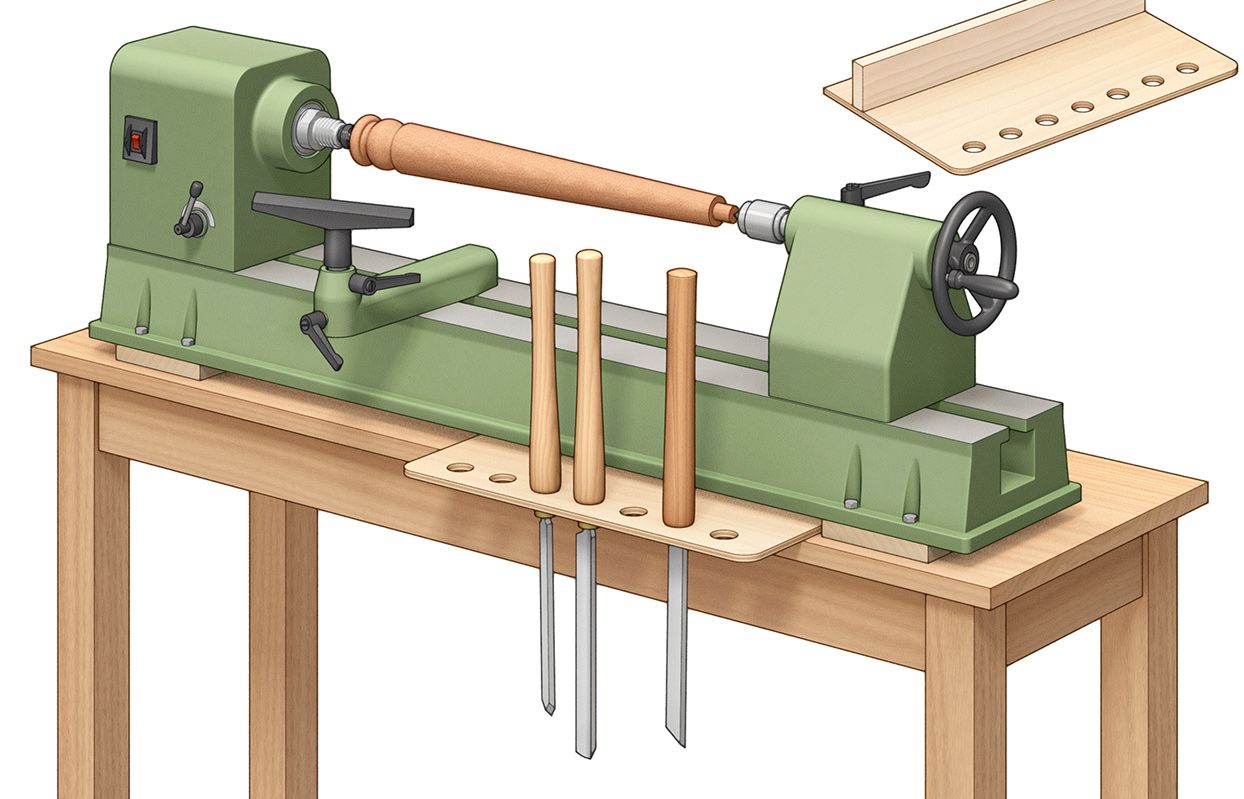
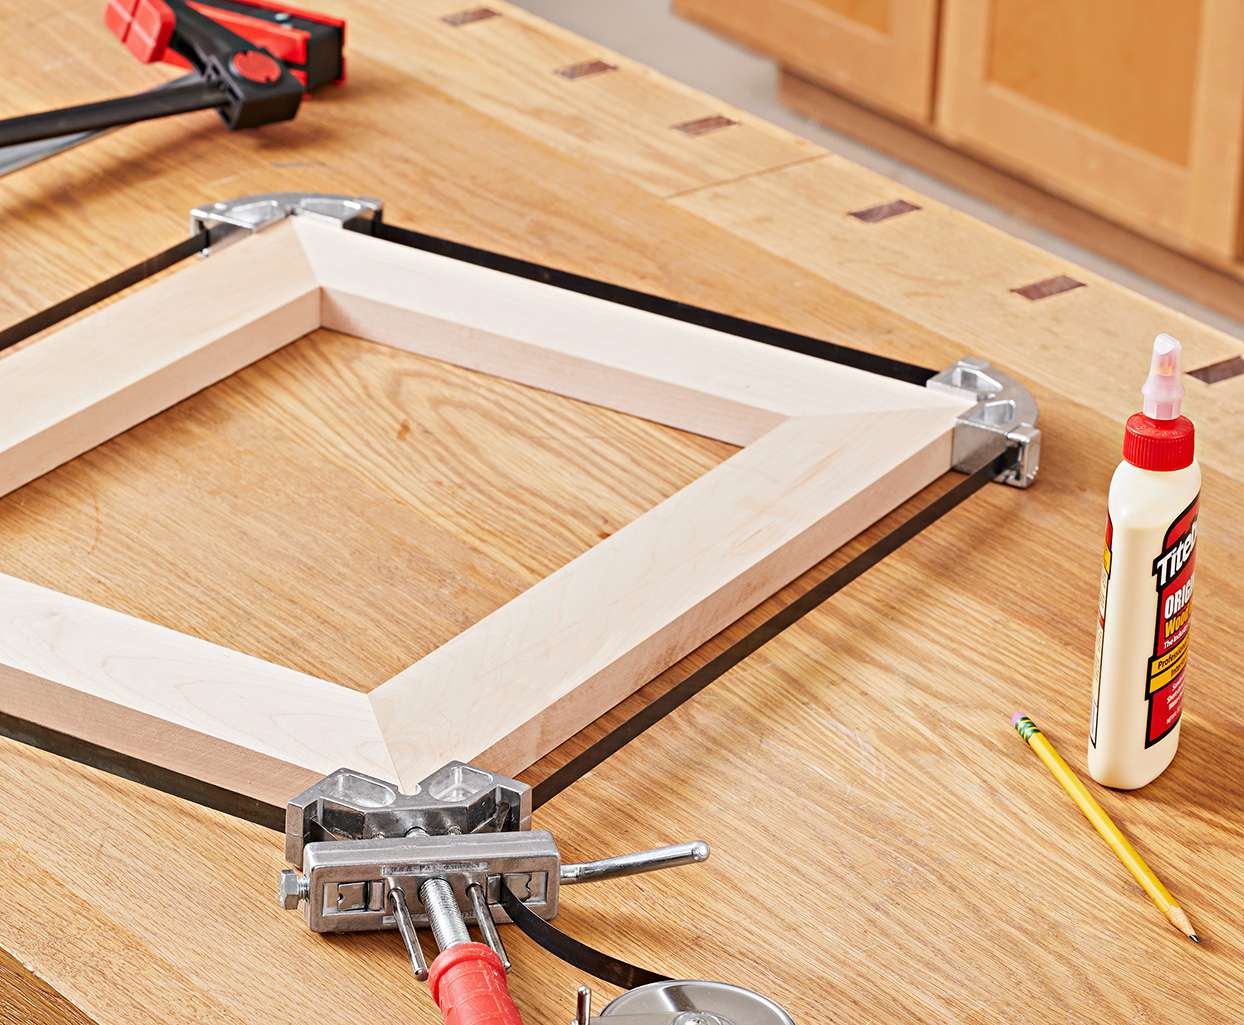
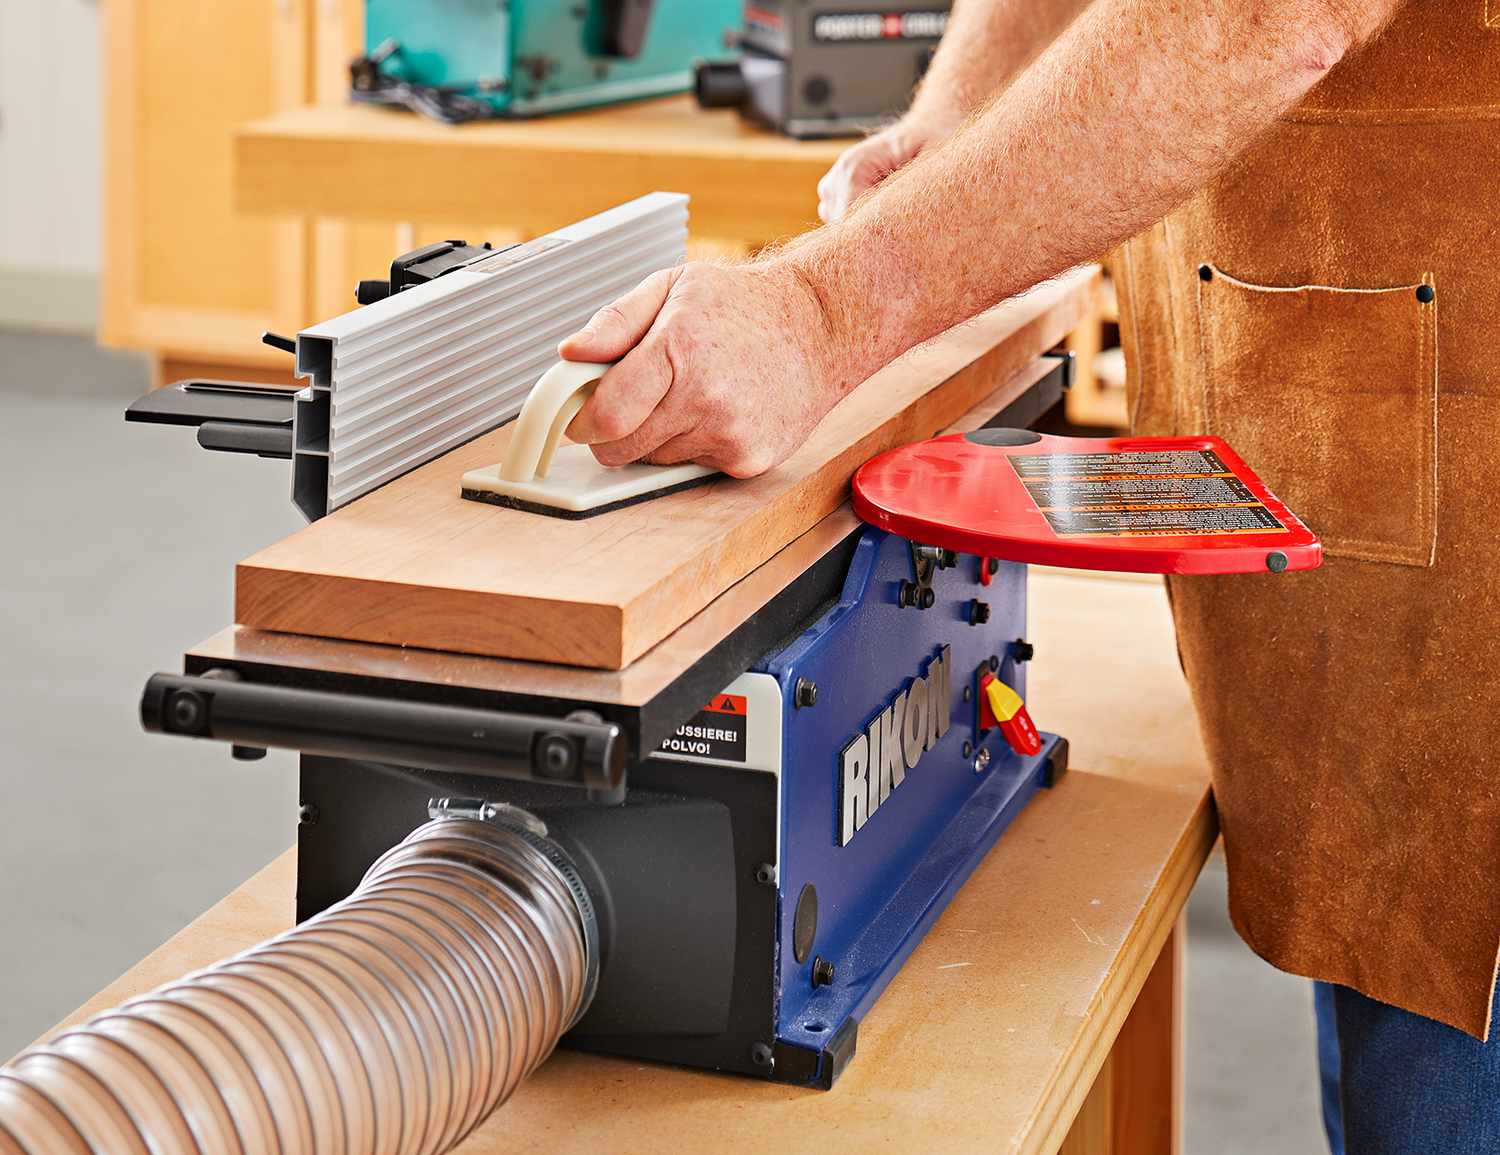
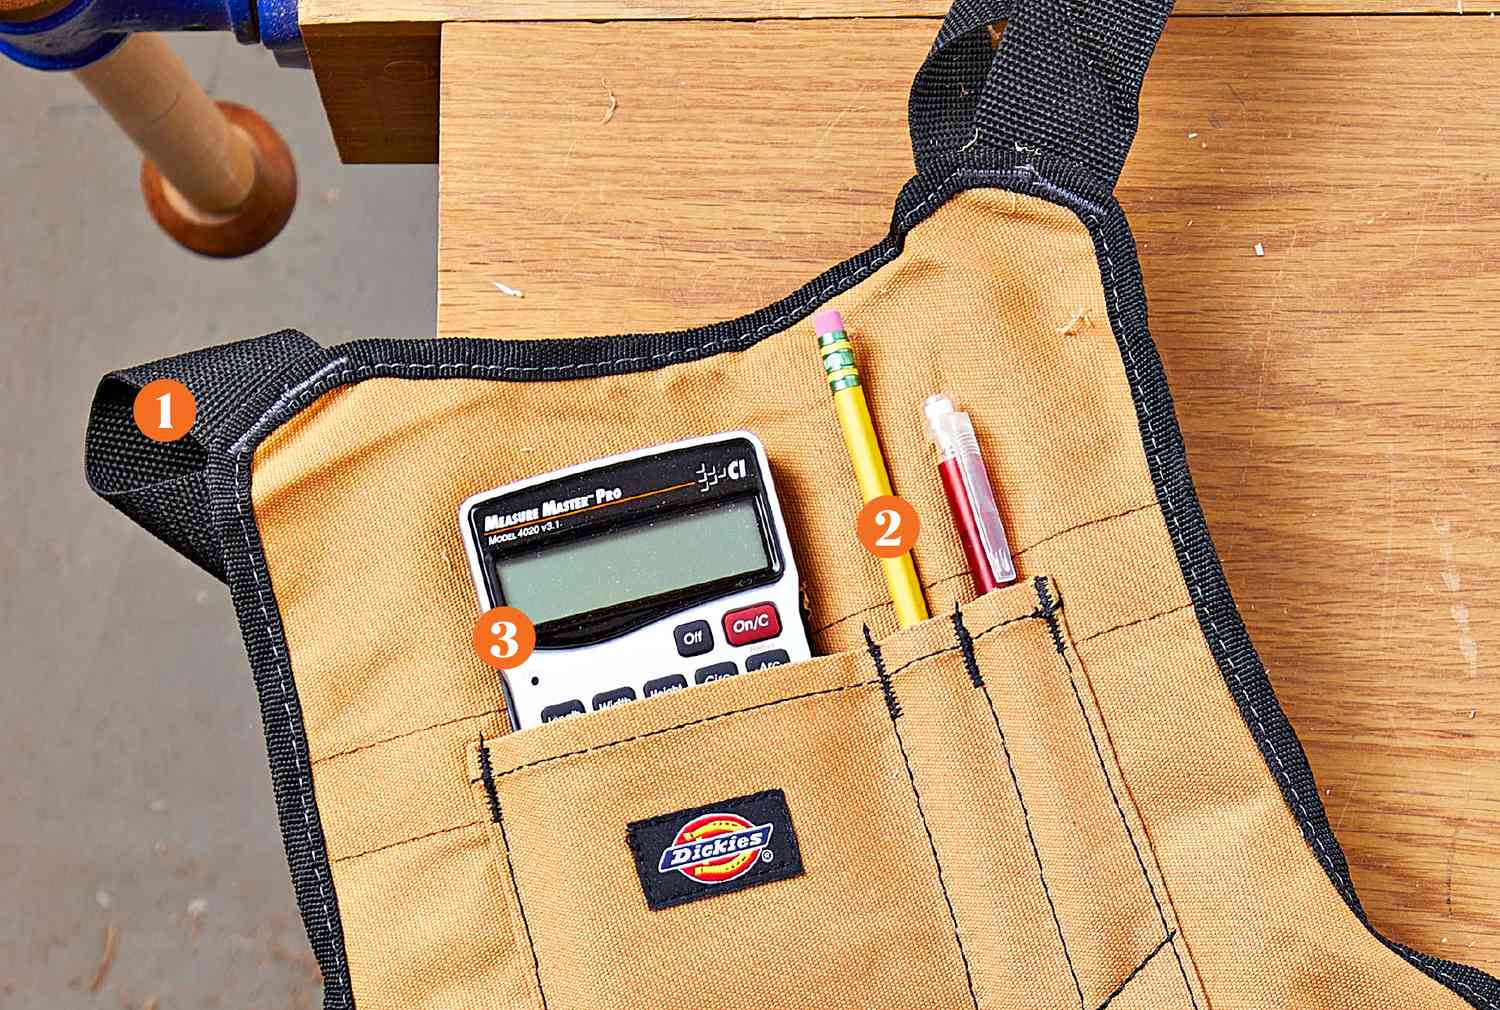
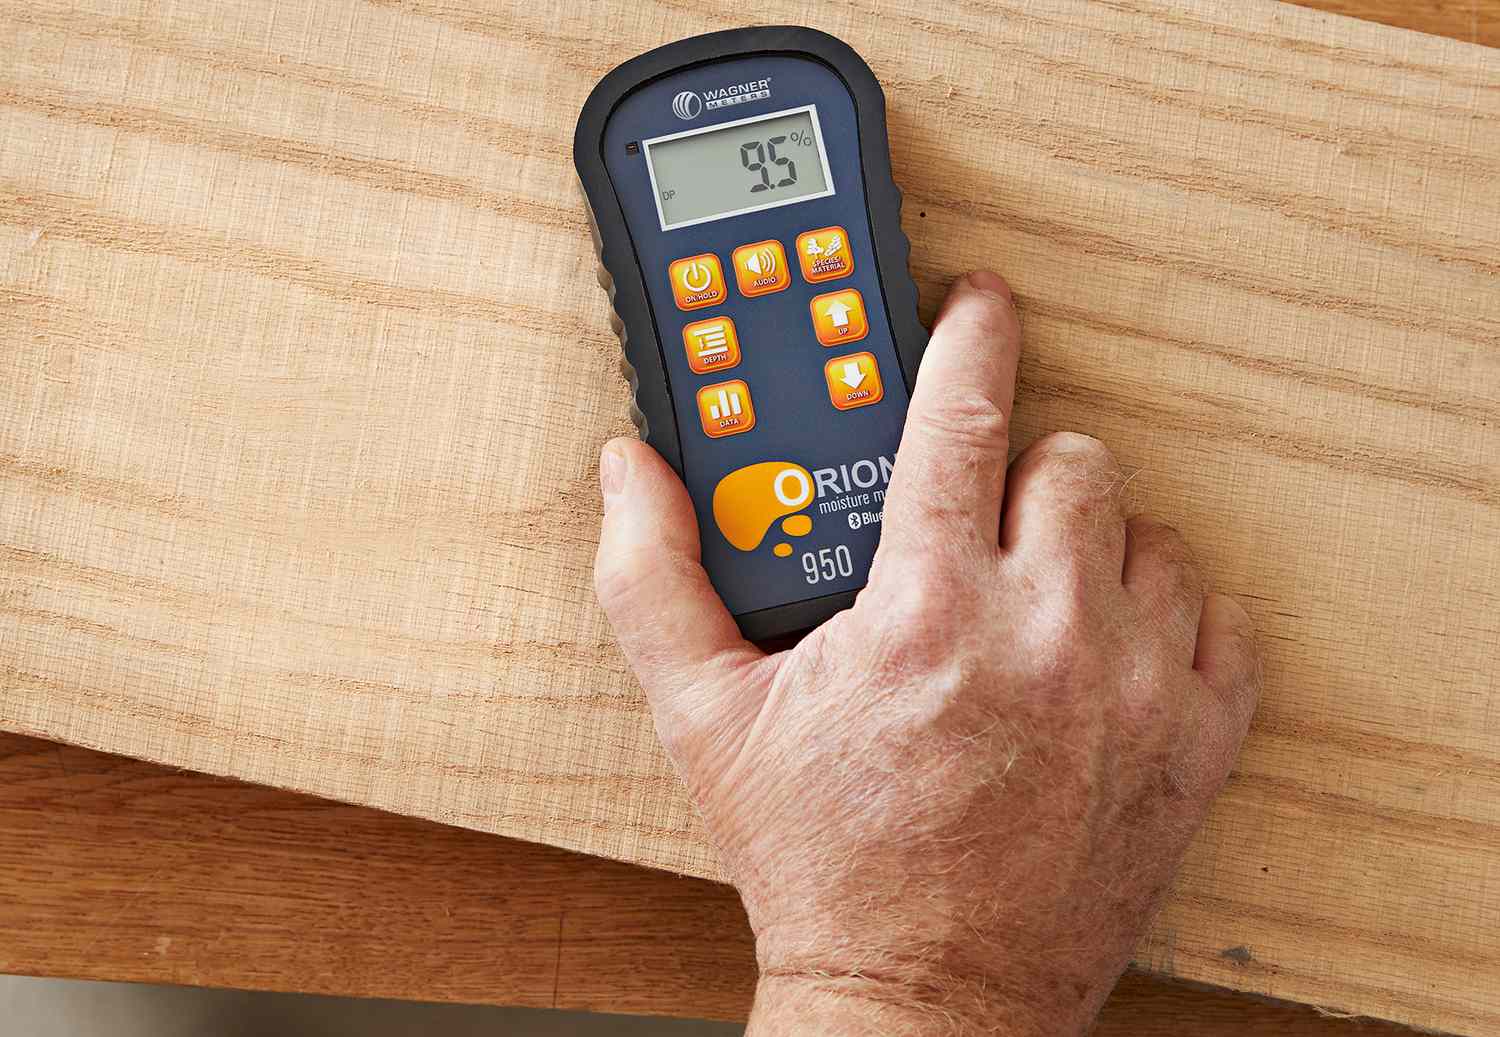
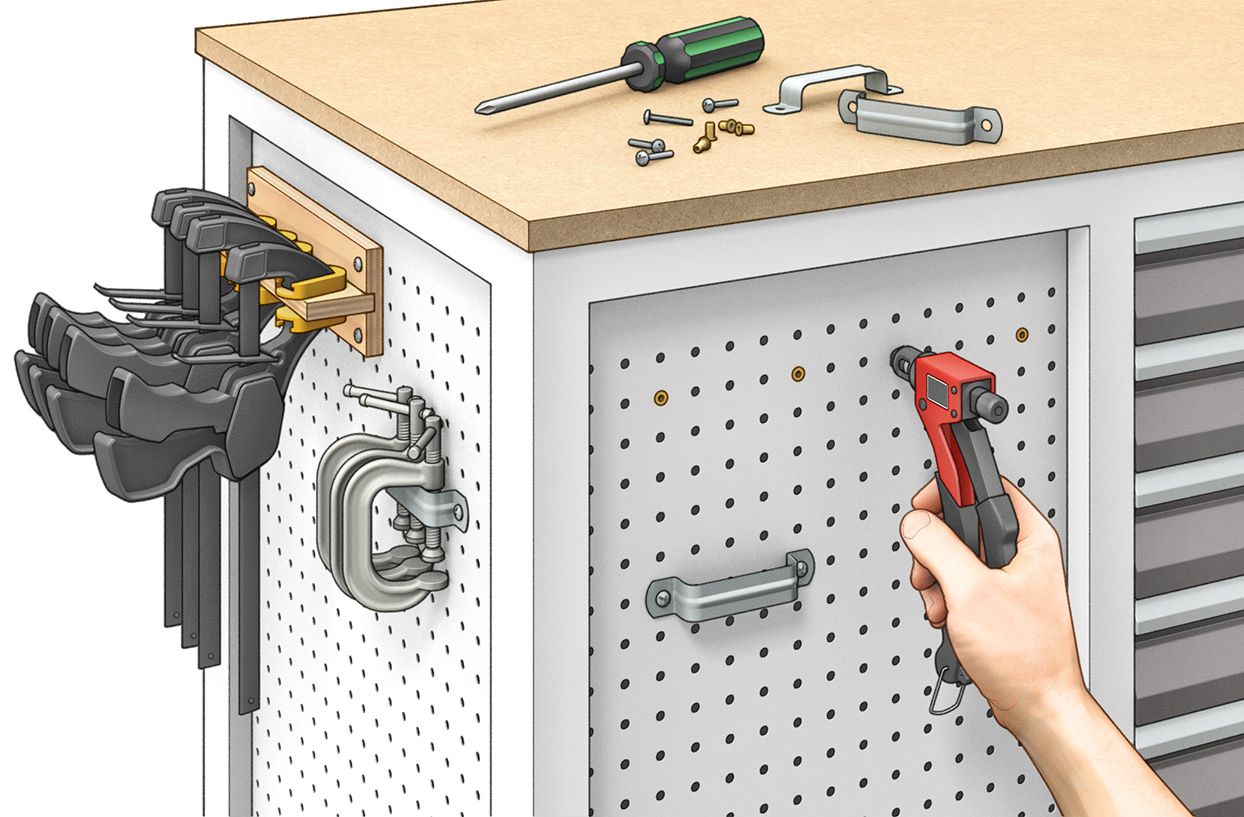
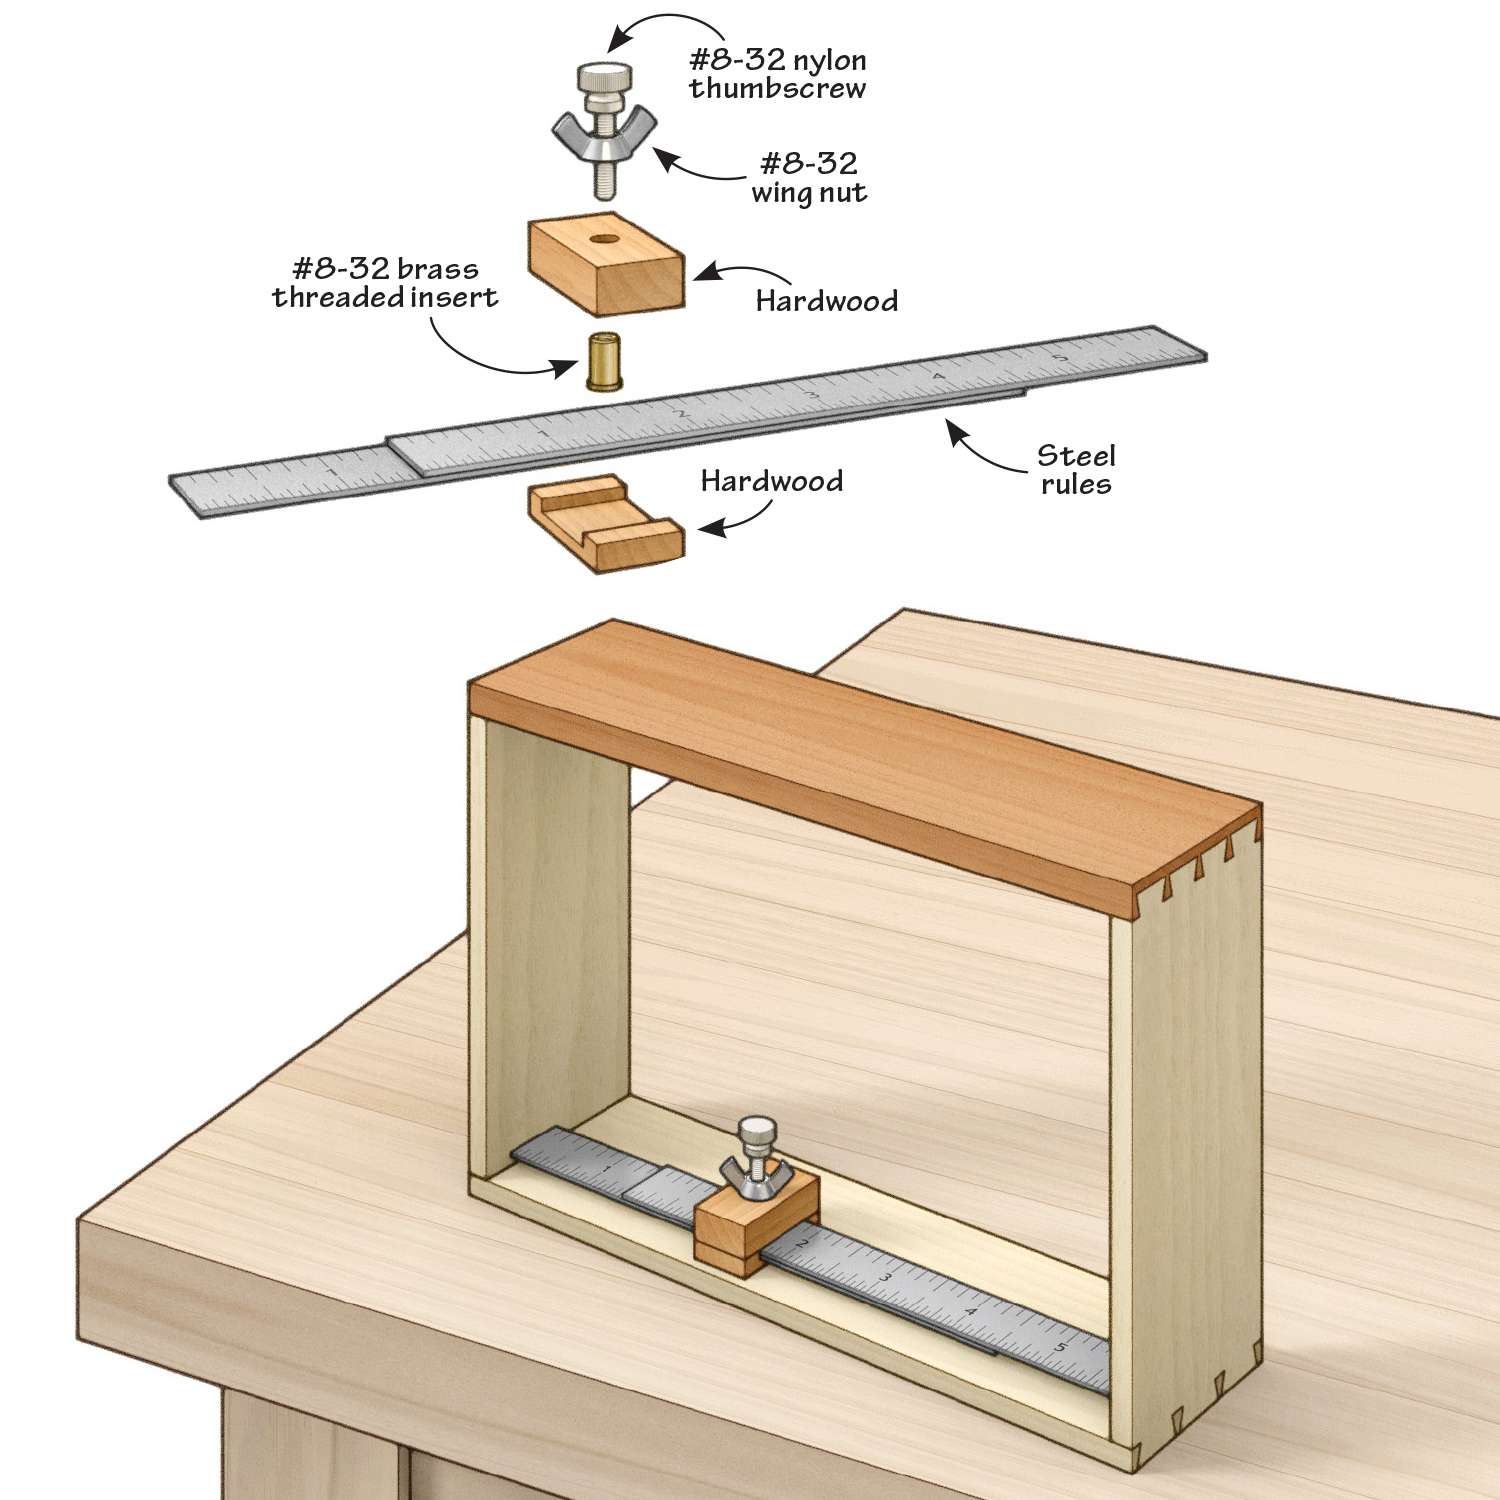
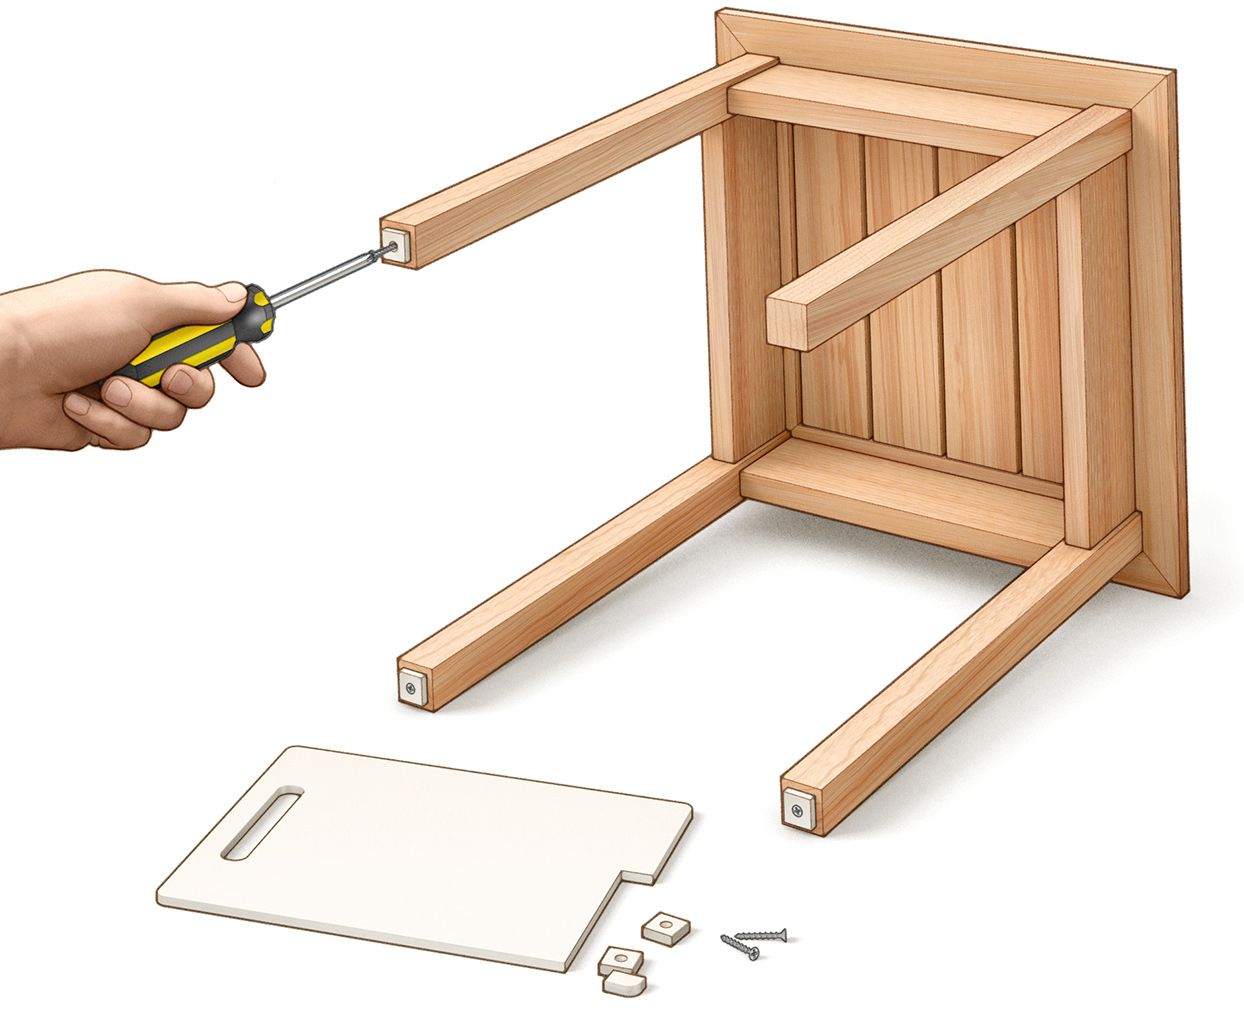
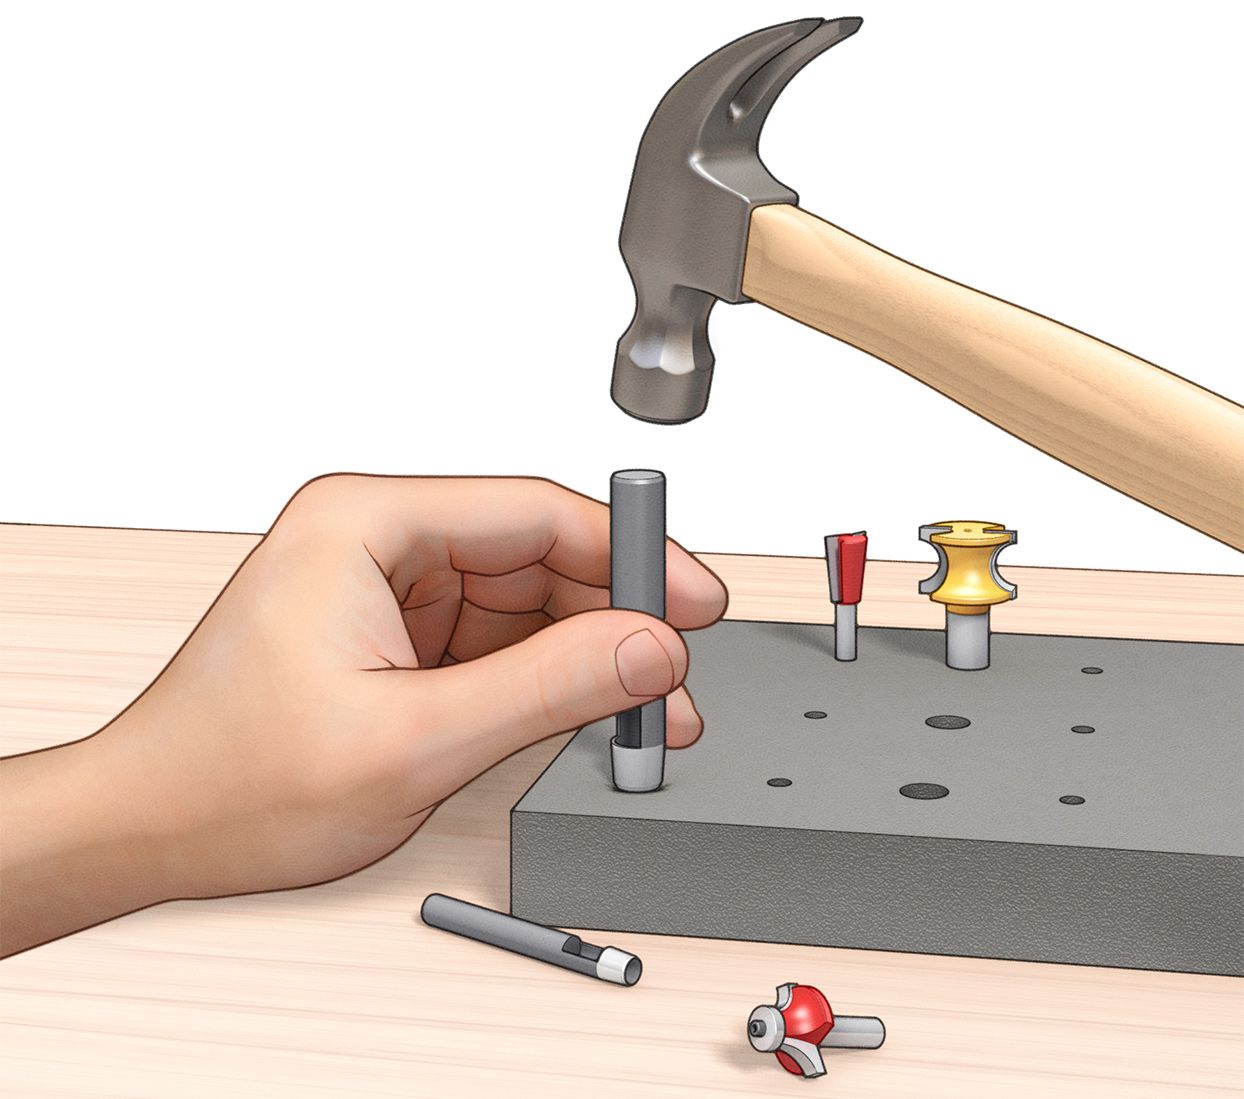
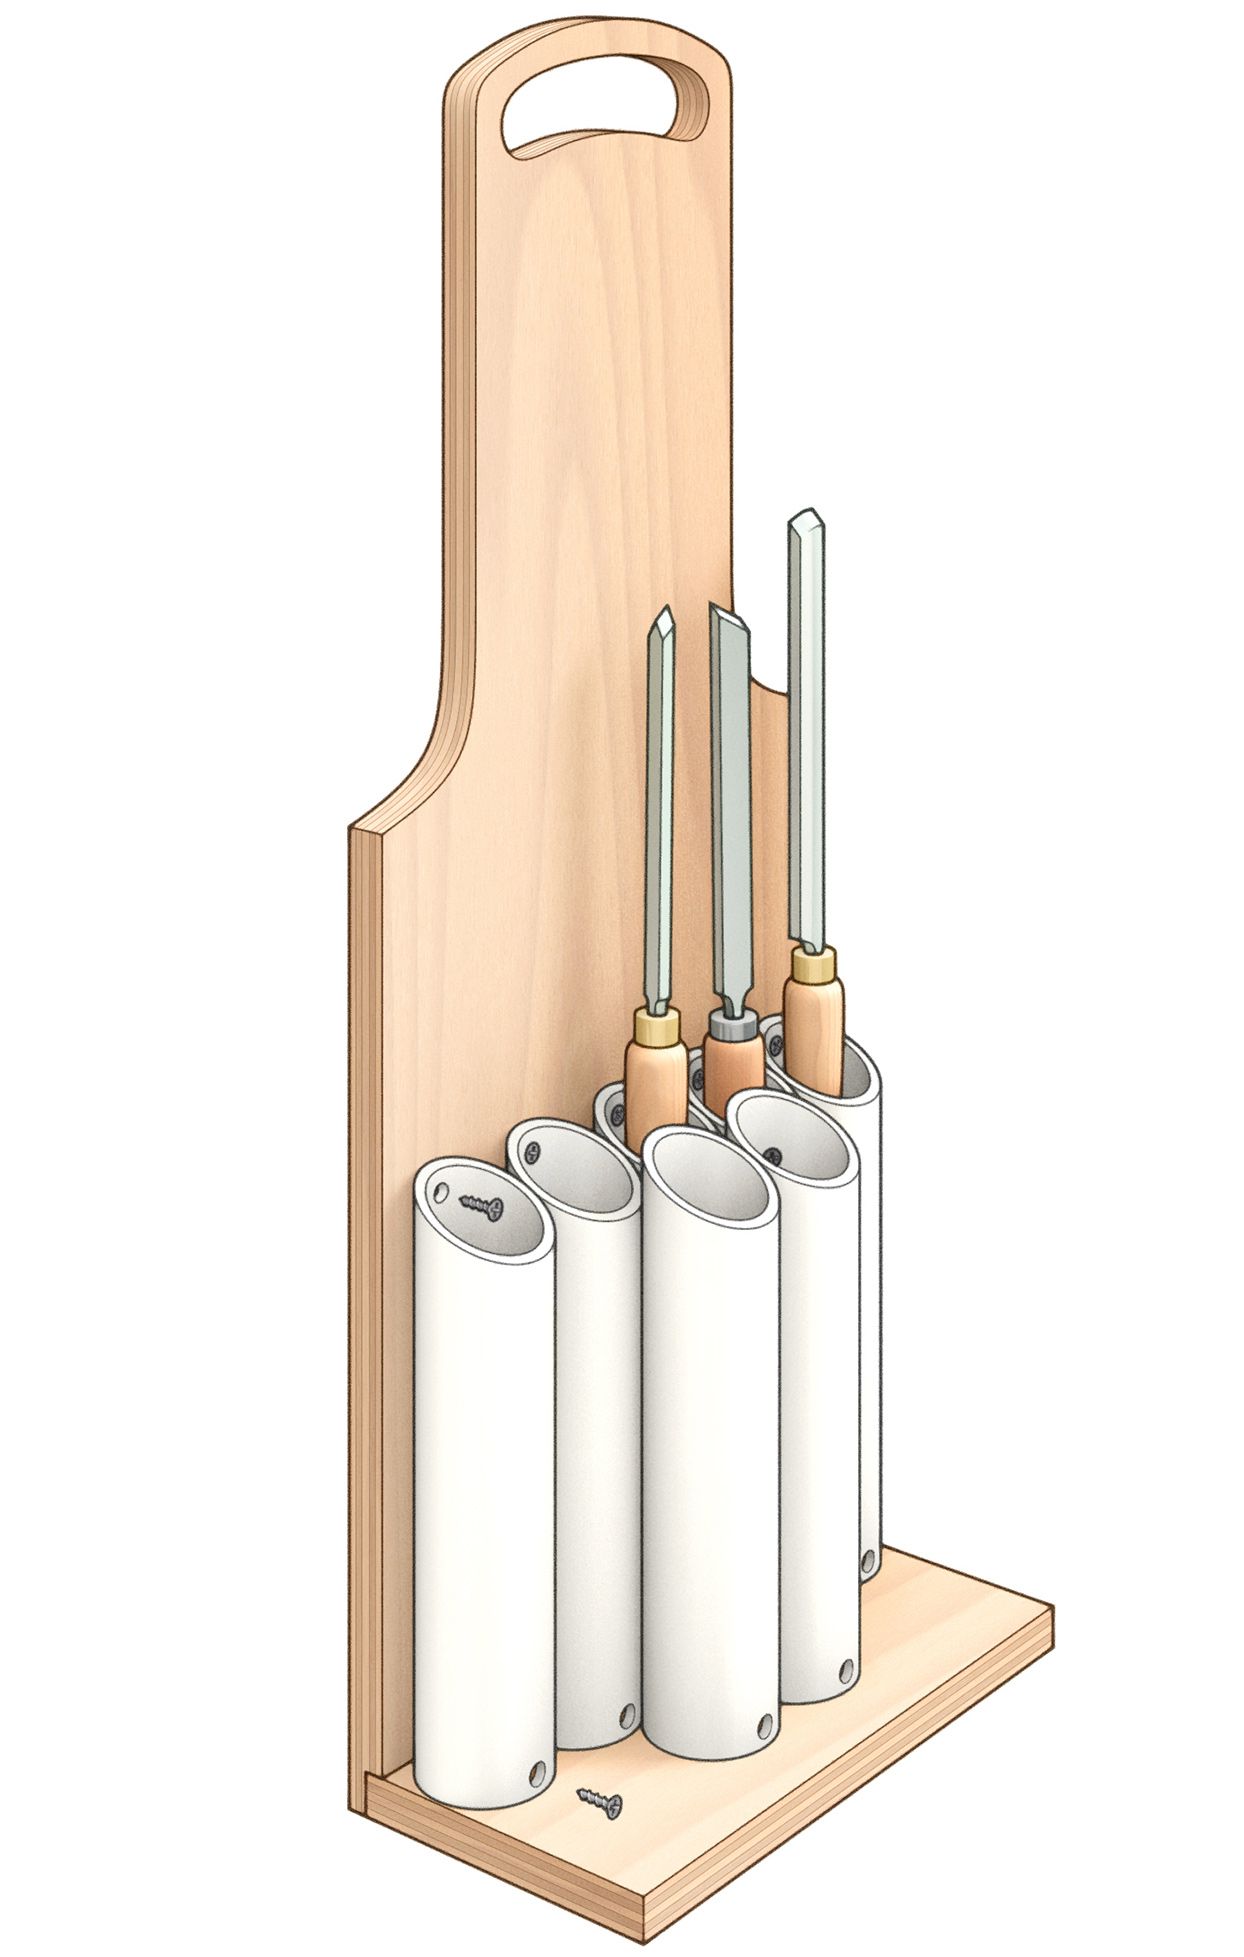
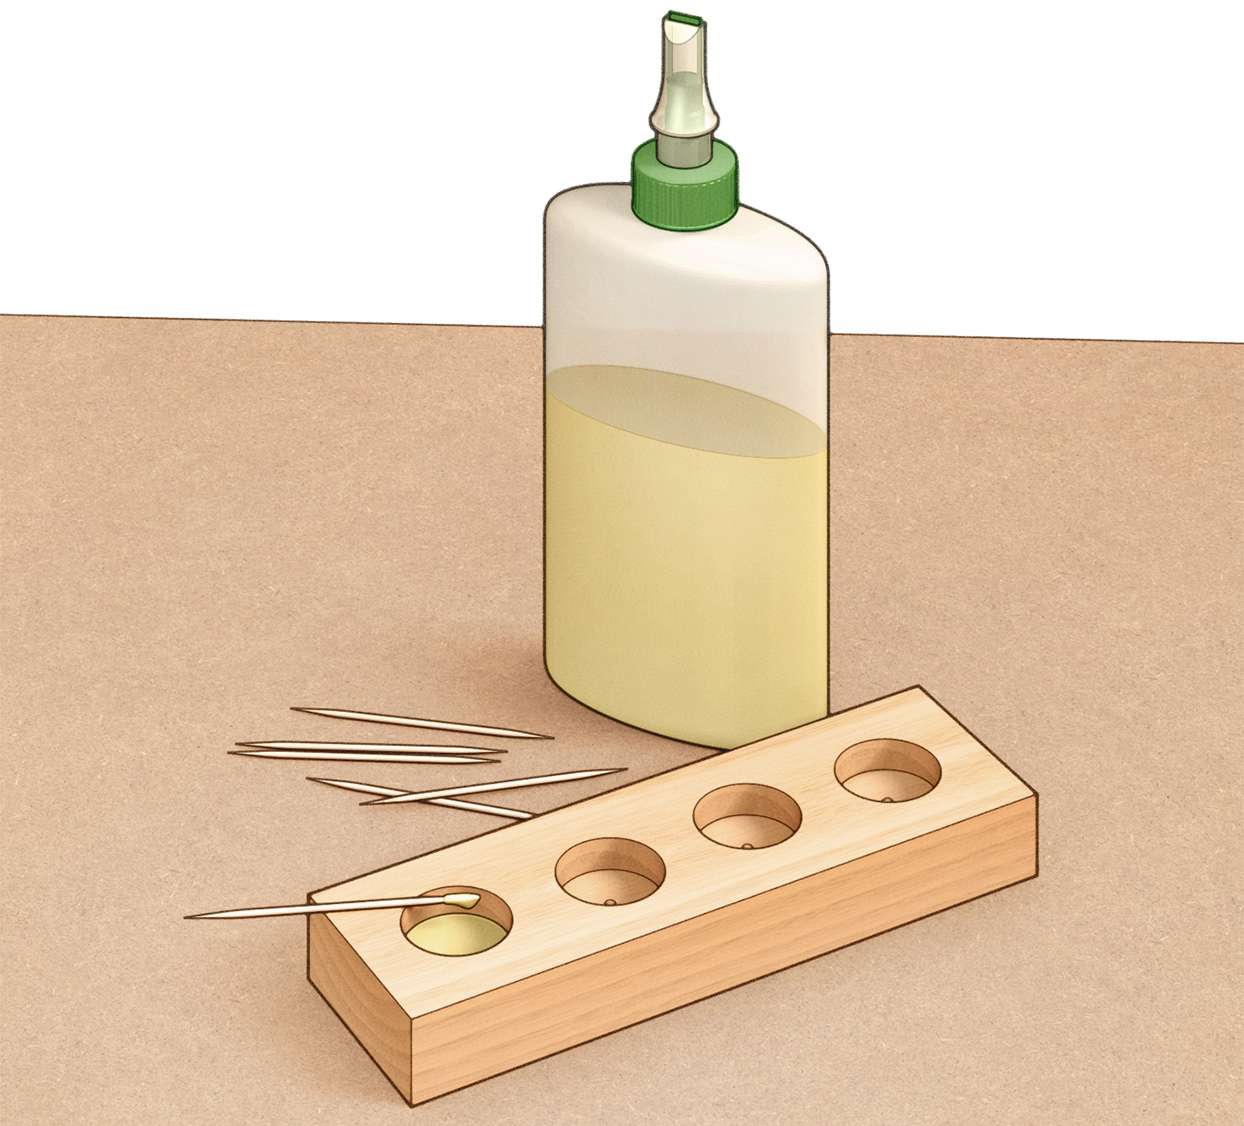
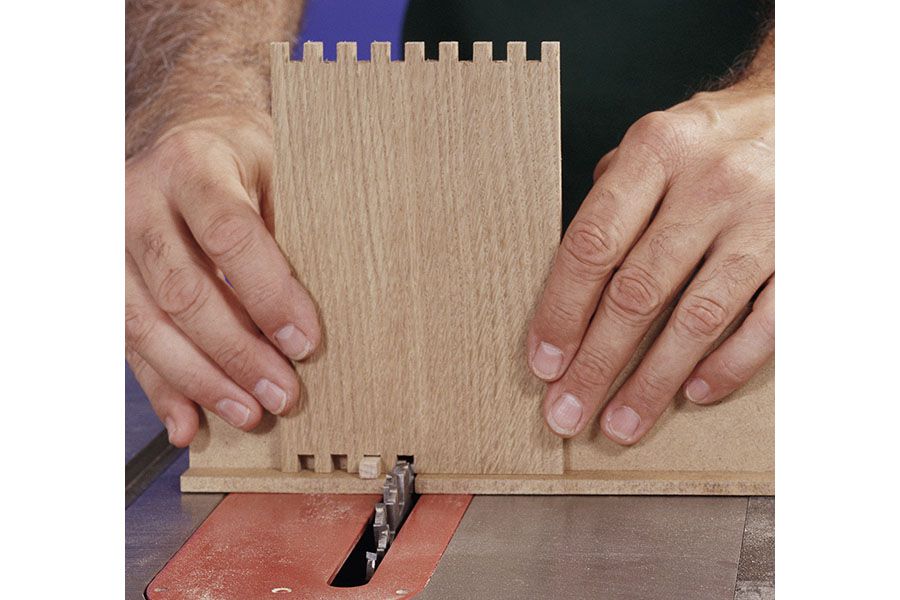
Shop Tips: Work Faster, Smarter, Safer

You Ask. WOOD Answers.

Free Woodworking Plans

Popular Searches: